
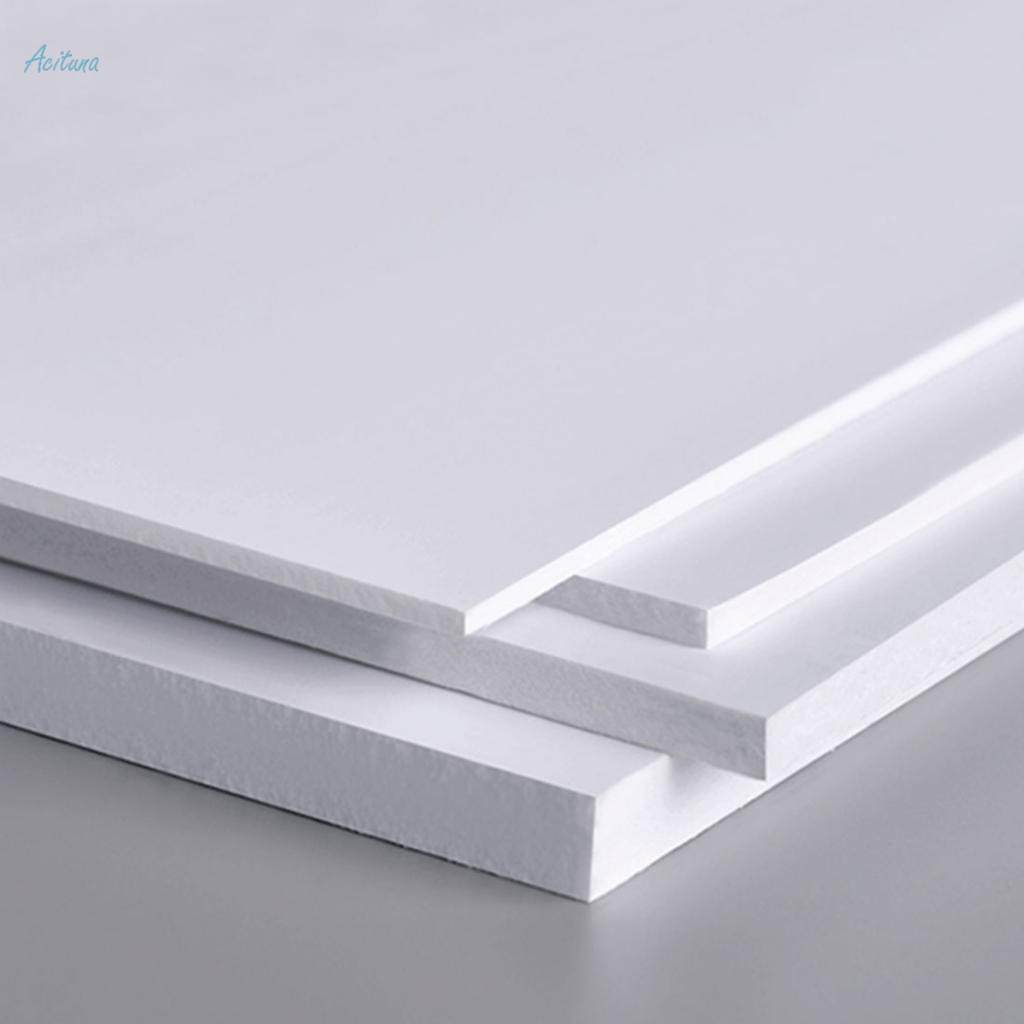
Gator board, also known as Gatorfoam, is a popular material among artists, designers, and educators for its lightweight yet sturdy structure. It is made of a polystyrene foam core sandwiched between two layers of wood-fiber veneer, making it an excellent choice for various applications, including presentations, signage, and creative projects. In this guide, we will explore the best practices for cutting and shaping Gator board, ensuring that your custom projects achieve professional results.
Understanding Gator Board
Before diving into the cutting and shaping process, it’s essential to understand the characteristics of Gator board.
Composition
Gator board is available in different thicknesses, typically ranging from 1/4 inch to 1 inch. The outer layers are made of a hard, durable surface that resists dents and scratches, while the inner foam core provides lightweight support. This combination makes Gator board an ideal material for projects requiring durability and ease of handling.
Types of Gator Board
While Gator board is primarily known for its traditional white surface, it is also available in a variety of colors, including black gator board. The choice of color can enhance the visual appeal of your project, especially when used for signage or artistic displays.
Tools You Will Need
Before you start cutting and shaping your Gator board, gather the following tools:
- Utility Knife or Rotary Cutter: A sharp blade is essential for clean cuts.
- Cutting Mat: Protects your work surface and prolongs the life of your blades.
- Ruler or Straightedge: Ensures straight lines when cutting.
- Pencil: For marking measurements and guidelines.
- Sandpaper or File: To smooth out any rough edges after cutting.
- Hot Glue Gun: For attaching pieces if needed.
Step-by-Step Cutting Process
Step 1: Measure and Mark
Begin by measuring the dimensions you need for your project. Use a ruler to determine the length and width of the Gator board.
- Mark the Measurements: Use a pencil to lightly mark the measurements on the surface of the board.
- Draw Guidelines: For straight cuts, draw a line connecting your marks with a pencil. This will serve as your cutting guide.
Step 2: Prepare Your Work Area
Set up your work area to ensure a safe and efficient cutting process.
- Clear Space: Make sure your workspace is clean and free from clutter.
- Lay Down the Cutting Mat: Place the cutting mat on a flat surface to protect it from blade cuts.
Step 3: Cutting the Gator Board
Now, it’s time to cut the Gator board.
- Align the Ruler: Position your ruler along the guideline you drew. Hold it firmly in place to prevent any slipping.
- Make the Cut: Using a utility knife or rotary cutter, carefully press down and slice through the Gator board. Apply even pressure and let the blade do the work.
- Tip: For thicker boards, you may need to make multiple passes with the blade for a clean cut.
- Check the Cut: Once you’ve completed the cut, gently lift the section to ensure it has been separated cleanly.
Step 4: Smoothing Edges
After cutting, the edges of your Gator board may be rough or uneven.
- Use Sandpaper or a File: Gently sand or file the edges to create a smooth finish.
- Check for Imperfections: Inspect the edges to ensure they are uniform and clean.
Shaping Gator Board
Beyond simple cuts, you may want to shape the Gator board for specific designs or models. Here’s how to do it.
Step 1: Creating Curves or Angles
- Mark the Design: Use a pencil to outline the desired shape or curve on the Gator board.
- Score the Surface: For curved shapes, lightly score along the outline with a utility knife. This will help you create a clean bend.
- Bend Gently: Carefully bend the Gator board along the scored line. For sharper curves, you may need to make additional cuts or score deeper.
Step 2: Assembling Pieces
If your project involves multiple pieces of Gator board, you’ll need to assemble them.
- Dry Fit the Pieces: Before gluing, arrange the pieces to ensure they fit correctly.
- Apply Hot Glue: Use a hot glue gun to attach the pieces together. Apply glue along the edges and press them firmly to secure.
- Allow to Dry: Give the glue sufficient time to set and dry according to the manufacturer’s instructions.
Tips for Successful Projects
- Always Use Sharp Blades: A dull blade can lead to jagged cuts and damage the Gator board.
- Practice on Scrap Pieces: If you’re new to working with Gator board, practice cutting and shaping on scrap pieces first.
- Work Slowly: Take your time to ensure accuracy and precision in your cuts.
Conclusion
Gator board is an incredibly versatile material that can be easily cut and shaped for various custom projects. By following the steps outlined in this guide, you can achieve professional-looking results for your presentations, displays, and artistic endeavors. Whether you’re using traditional white Gator board or opting for a more unique option like black gator board, the key to success lies in careful measurement, cutting techniques, and attention to detail.
With these skills in hand, you can bring your creative visions to life with Gator board, transforming your ideas into tangible, beautiful projects. Happy crafting!


